

escrito por Kristy Noms
8 minutos de leitura

Today we’ll see another service that we can use to run maintenance tasks or T-SQLs on a schedule besides Elastic Jobs, the name of the service is Azure Automation.
Elastic Jobs doesn’t work (yet) when you use private links instead of public access in the databases, so this service is an alternative.
I’ll show you how to do this in a few steps.
First we need to create an automation account, this step is very straightforward, I’m not going deep into it.

WIth our automation account created:

For this lab I created an Azure SQL Database named labkristy and created the following objects to simulate our process:
In the master database I created the login sqlautomation:
create login sqlautomation with password=’xxxxxxxxxx‘;
In the labkristy database I created the user sqlautomation with dbowner permission.
create user sqlautomation for login sqlautomation;
EXEC sp_addrolemember N’db_owner‘, N’sqlautomation‘
To validate the job we’ll use the following table:
create table sqldata (currentdate datetime)
insert into sqldata values (getdate())

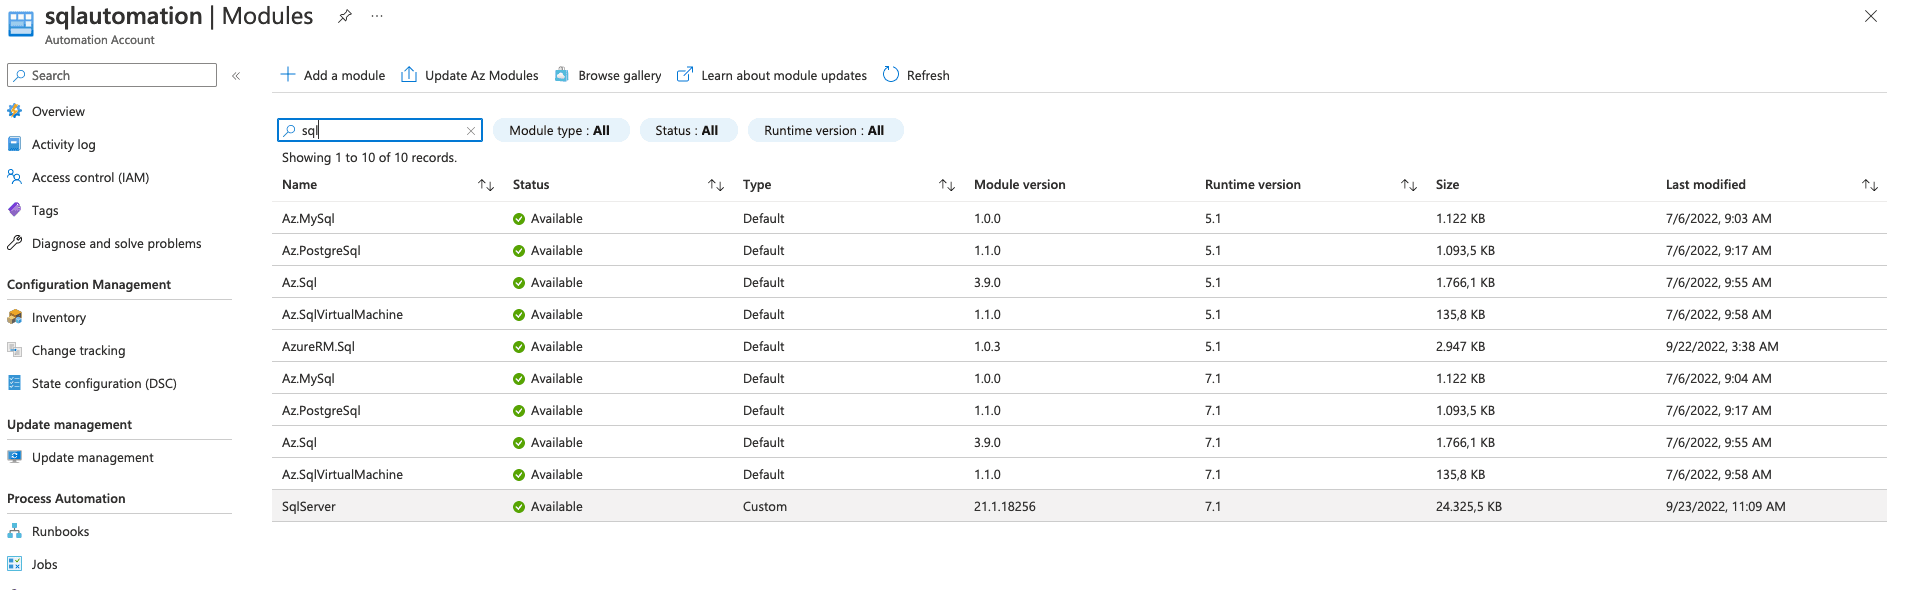
Getting back to the automation page, we’ll look for the SQL Server module in the gallery, this template will be used to run a powershell script that connects to our remote database and execute our T-SQL.


Then select and import:

With our module added:
Now with our module added, we’ll use the credentials created in the database:


In order to run our powershell script we’ll need to add two variables in the following section:

+++Database
+++SqlServer

Now we’ll create our runbook with the script that we need to execute in the database:

after creating the runbook it’ll open the following page:

Here I’m using a template script created by Cor Den Boer.
I did some changes in the query to execute and published our runbook.
This will attend our needs:


It’s a great idea to validate the runbook with the Test function, here the ip address for the automation was not registered in my rule.

After adding, it ran successfully.

We can also see the history:

Now let’s schedule the routine.

The downside here is that we don’t have many options to choose from recurring, so if we need something more granular will not be possible with this service:


After creating our schedule we need to link to our runbook:


Let’s check our schedule linked with the runbook:

Also if you look in the runbook section there will be our option to UNLINK:

And we’ve got to the finish line!
It was not so difficult to put to work this service, now we have one more option to run T-SQL using python or powershell scripts in a Azure SQL Database.